
MYCURE X - How To Import Products
5 min read
This tutorial guides you through the process of importing multiple products into the MYCURE v10 inventory system. The product import feature allows you to efficiently add multiple items to your inventory at once using a template file, saving time and reducing manual data entry errors.
What You'll Learn
How to navigate to the Products section
How to download a product import template
How to prepare and upload your product data file
How to complete the import process
Before You Begin
You'll need a MYCURE v10 account with appropriate permissions to manage inventory
Prepare your product data in a format compatible with the system templates
Ensure you have access to the Inventory management features
Steps
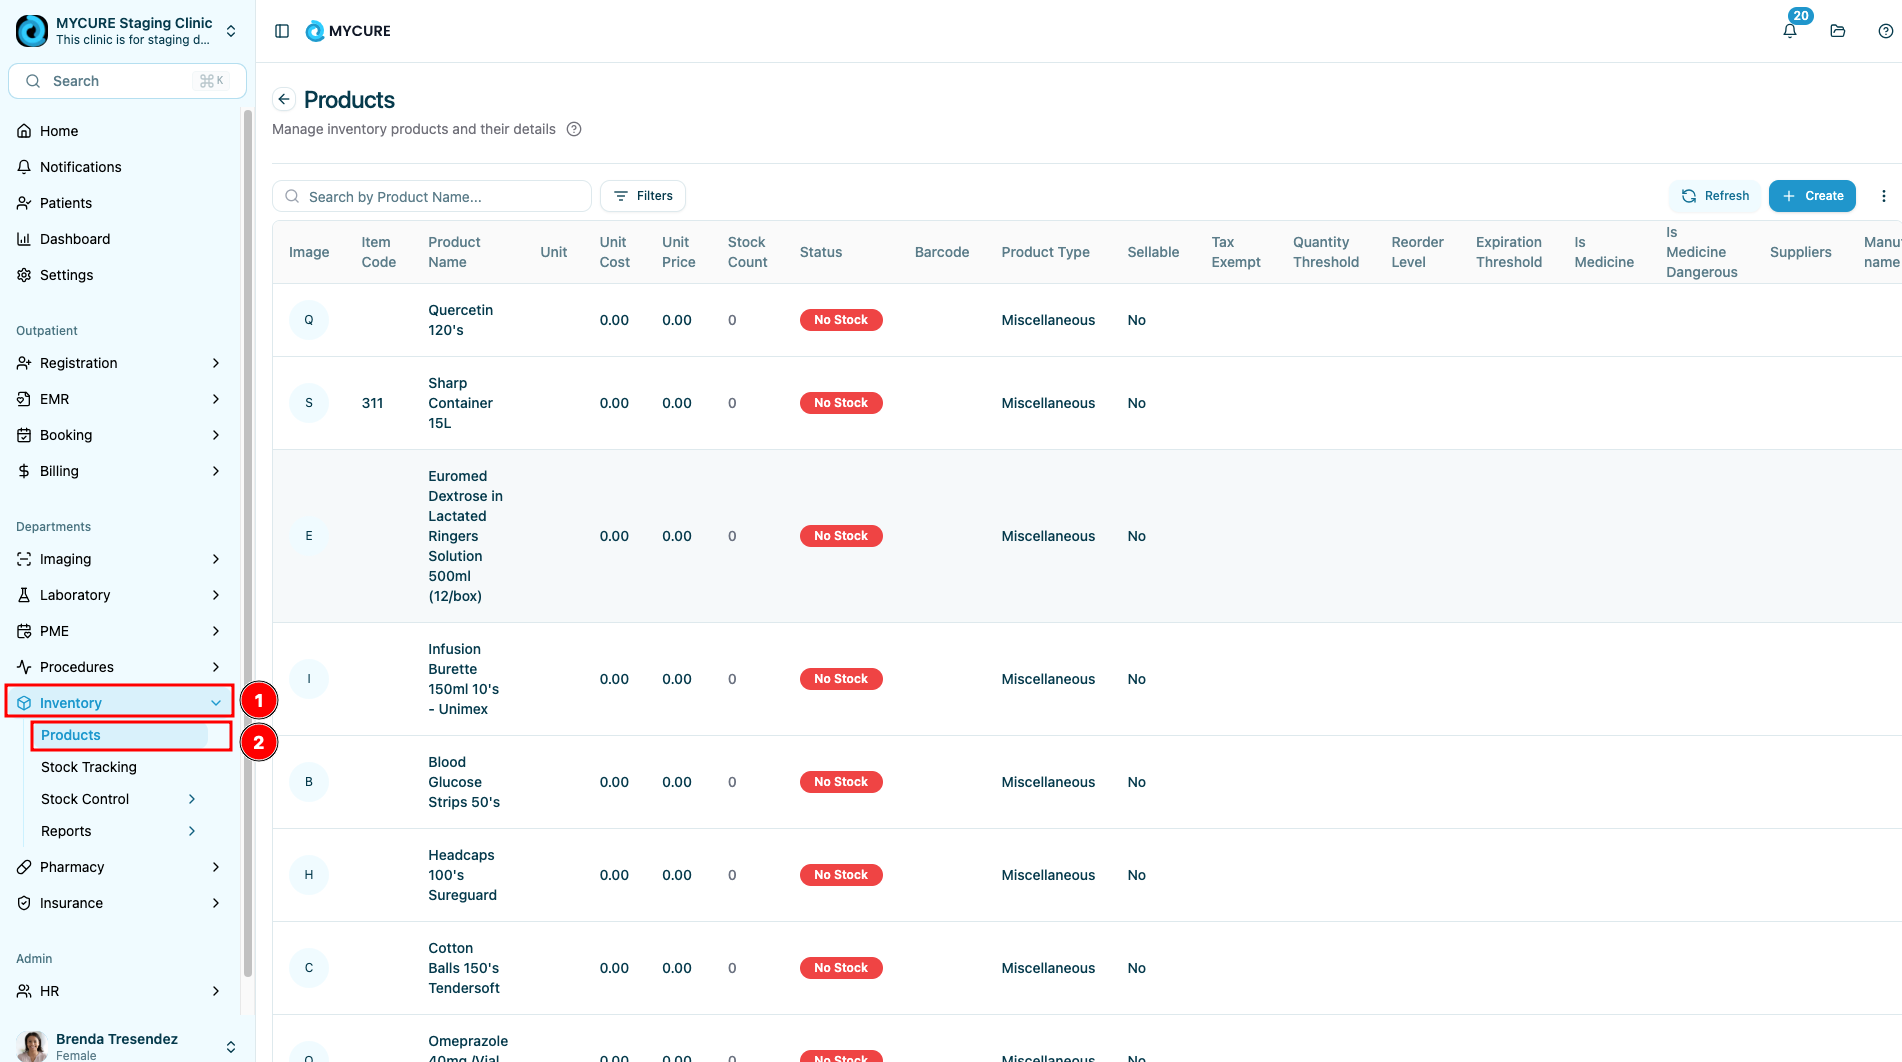
1. Navigate to the Products Section
Start by accessing the main navigation bar in MYCURE v10. Click on the Inventory option in the navigation menu. This will reveal a dropdown menu with various inventory management options. Click on Products to access the product management screen.
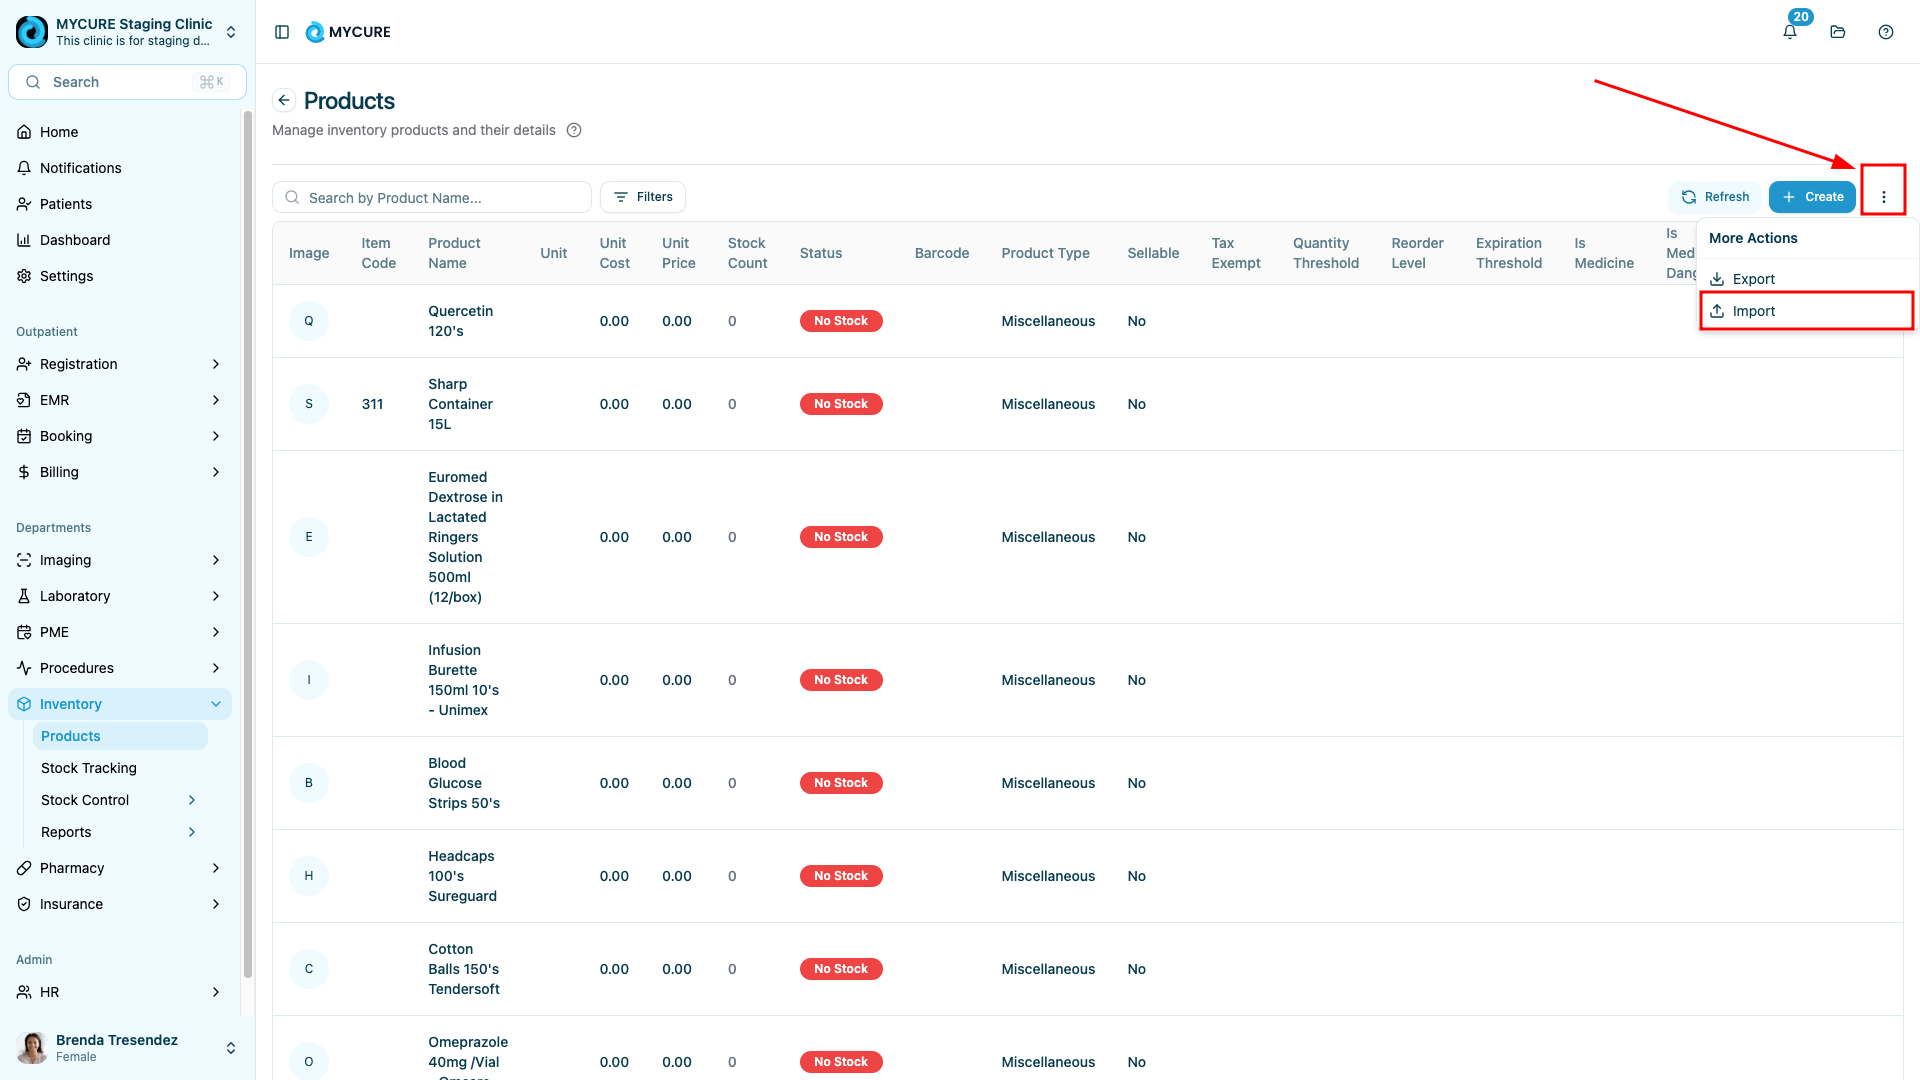
2. Access the Import Feature
Once you're on the Products page, you'll find the More Options Button (typically displayed as three dots icon). Click on this button to reveal additional options, and then select Import from the dropdown menu.
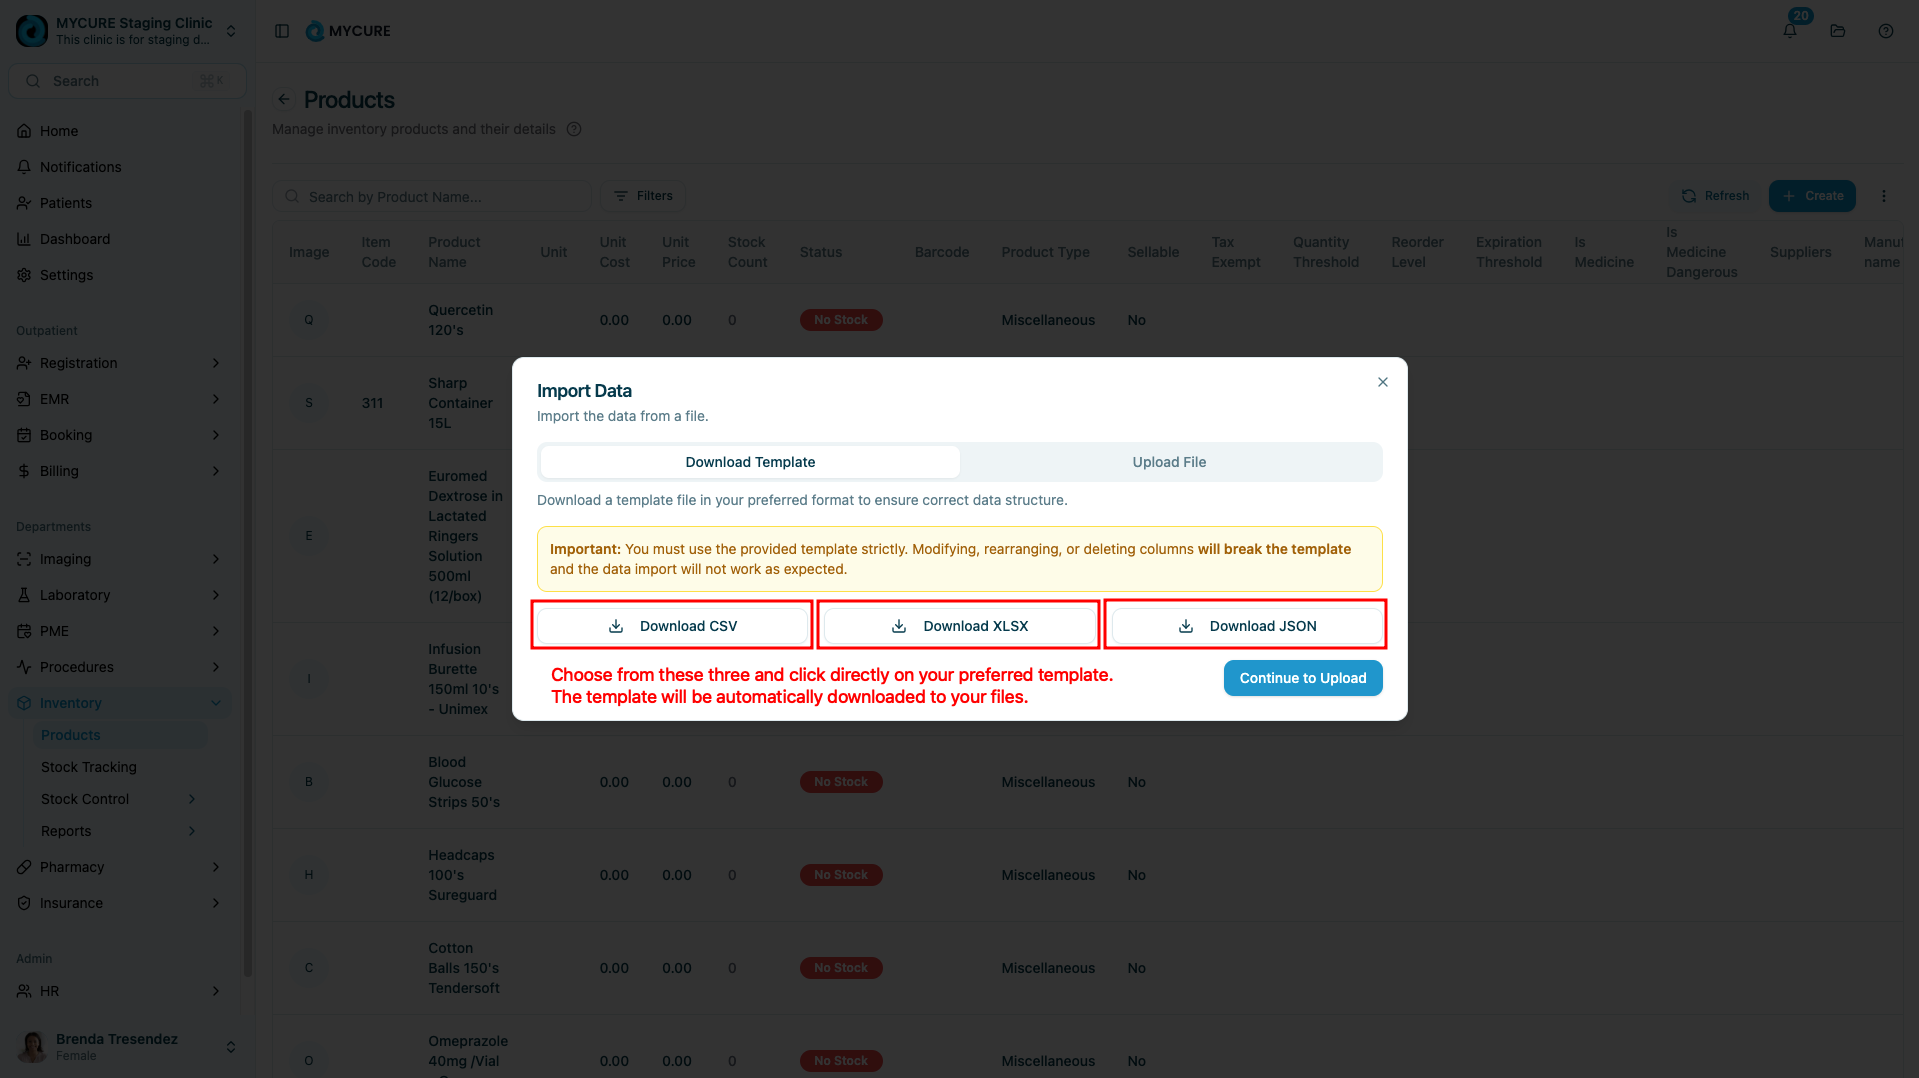
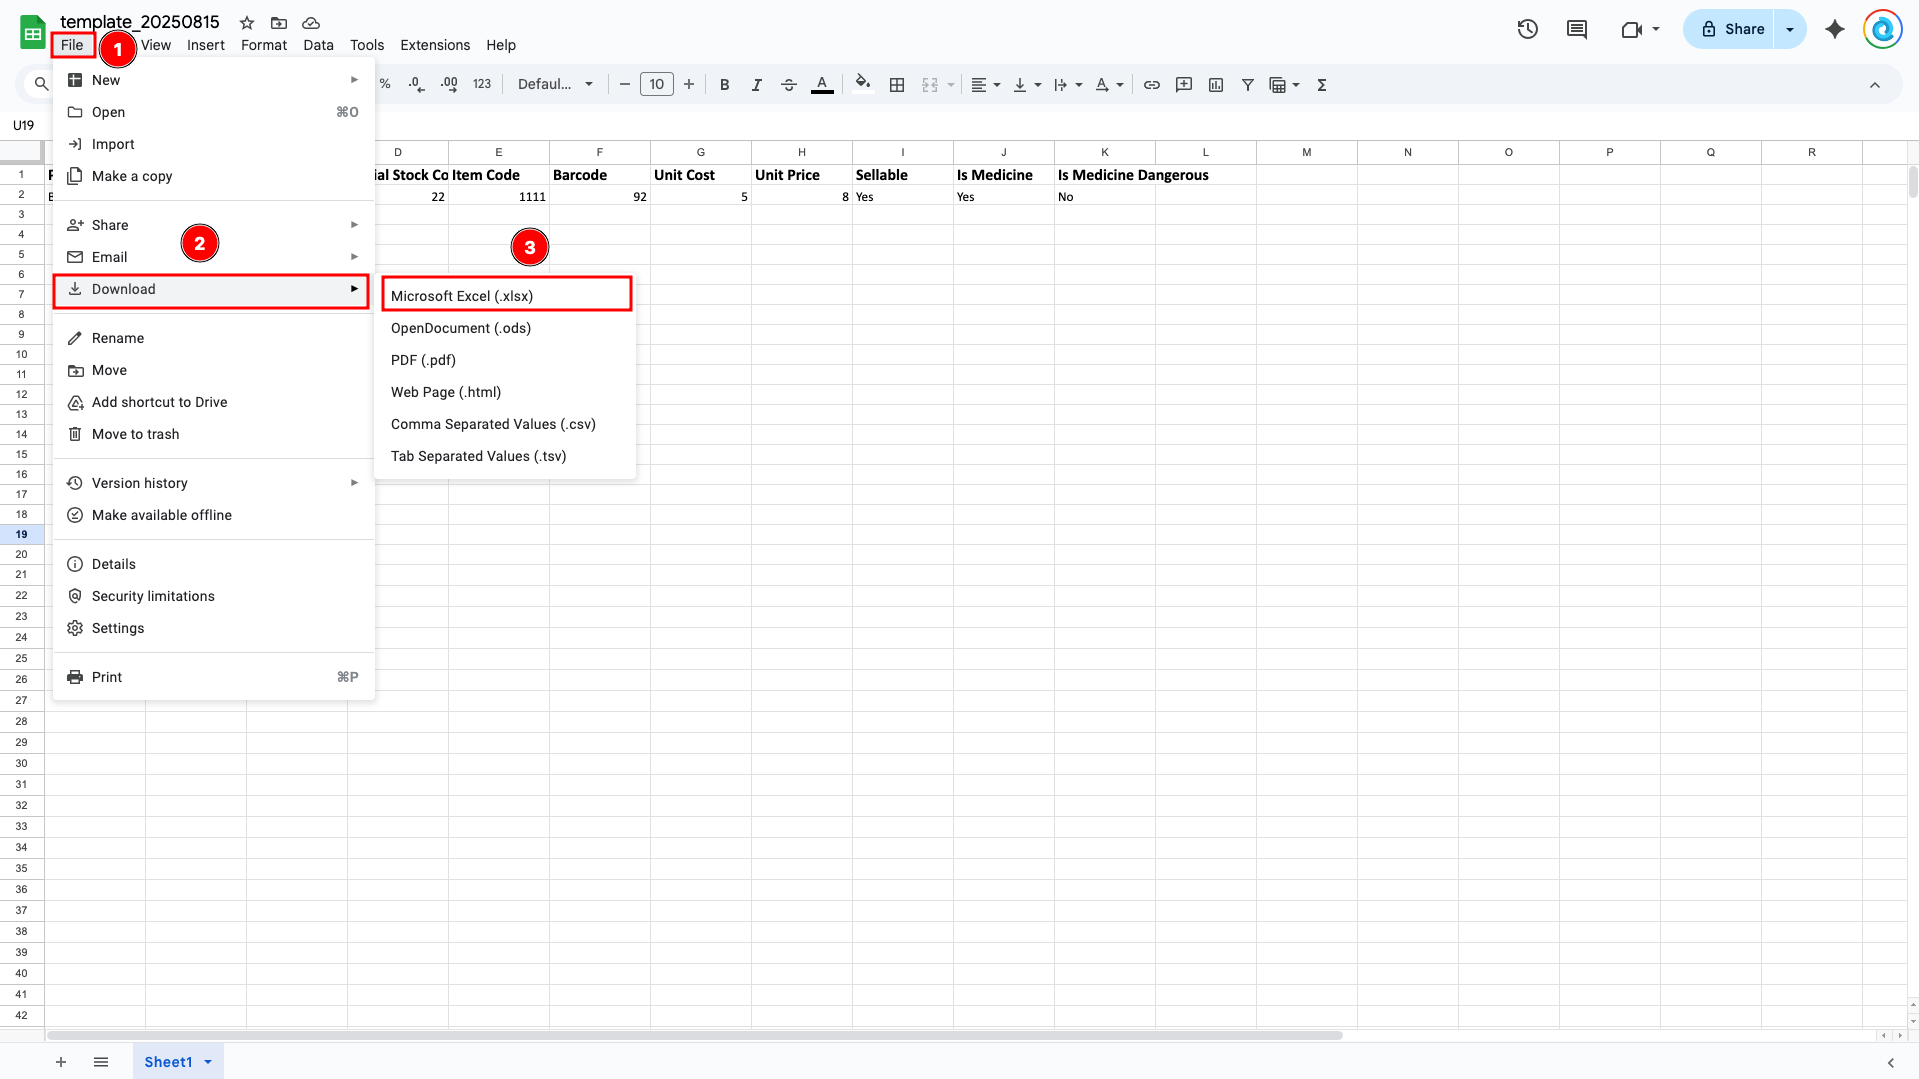
3. Download a Template
After clicking Import, you'll see an interface with two tabs: Download Template and Upload File. First, go to the Download Template tab. Here, you'll see template options for product imports. Select the appropriate template for your needs and click on its button which will automatically download the selected template.
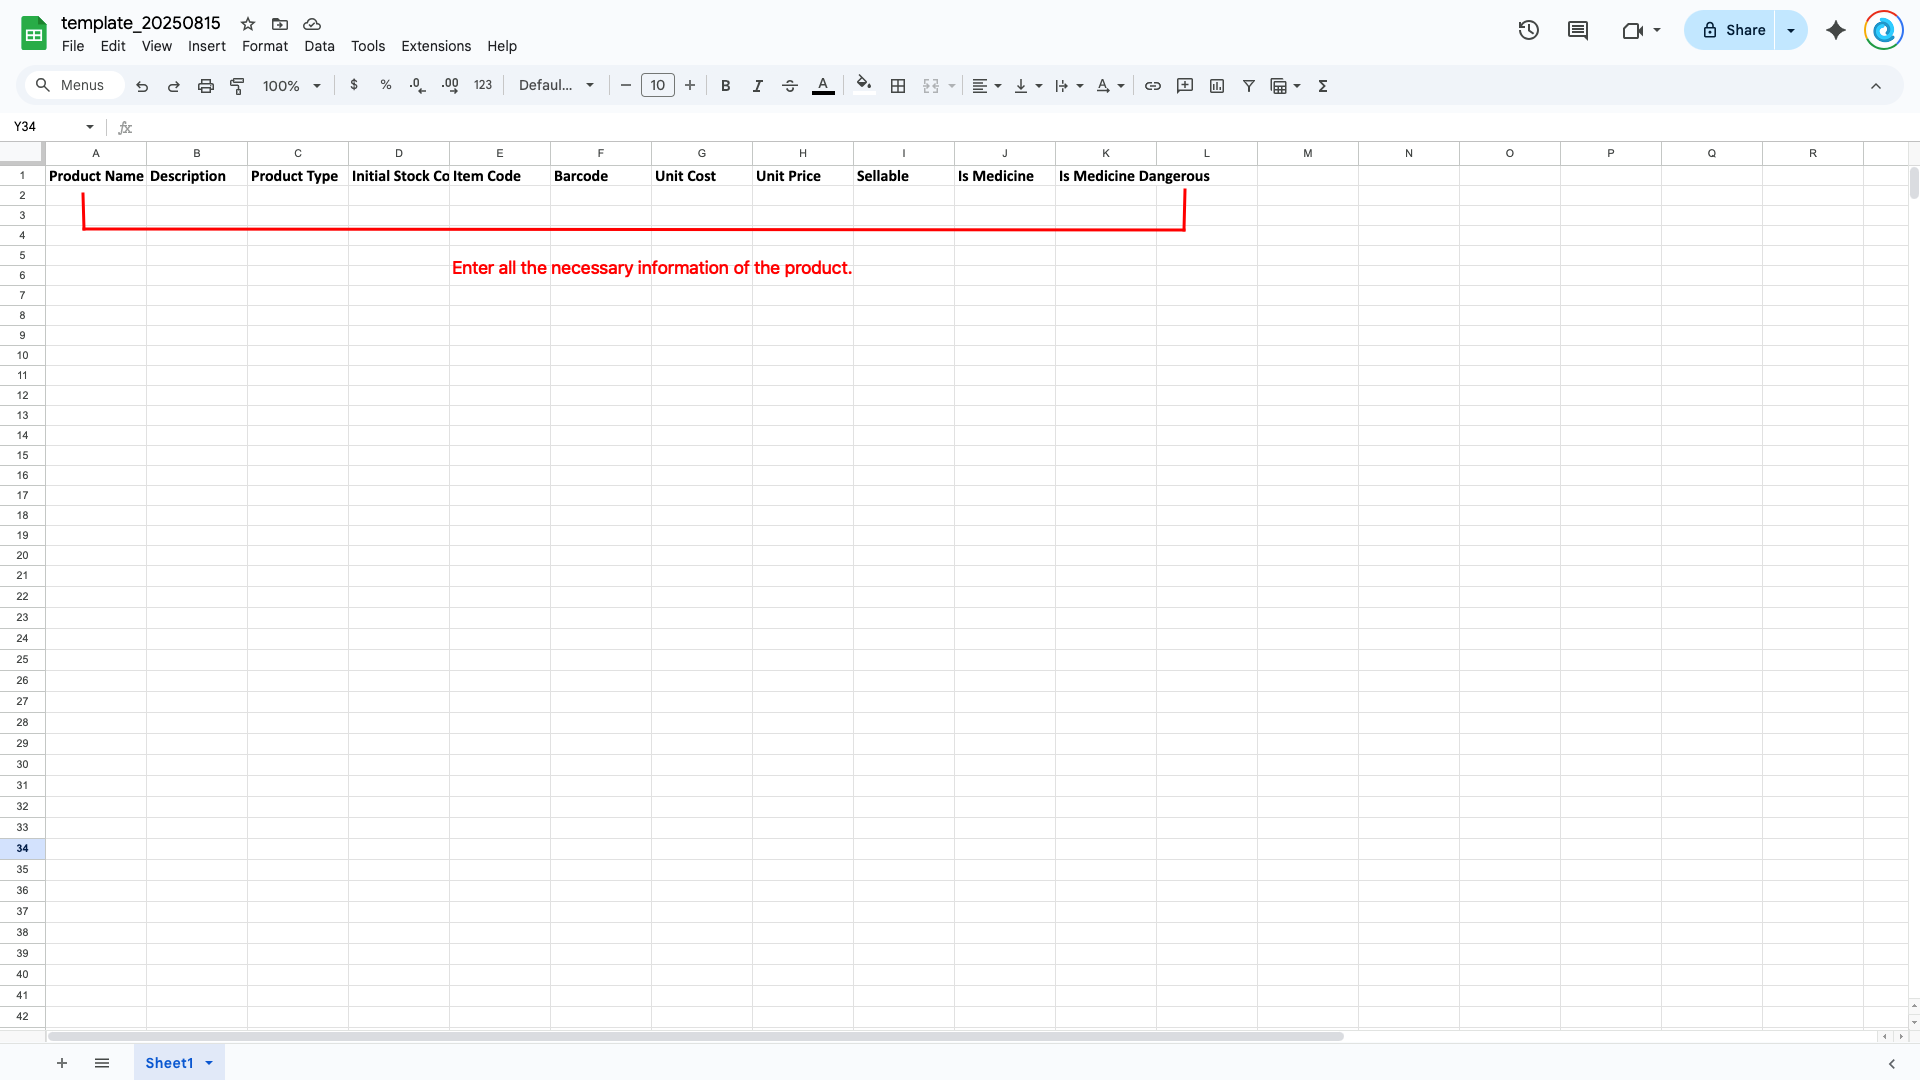
4. Prepare Your Data File
Open the downloaded template using a spreadsheet program like Microsoft Excel or Google Sheets. Fill in your product data according to the template format. Save the file when you're done. Make sure to maintain the original file format.
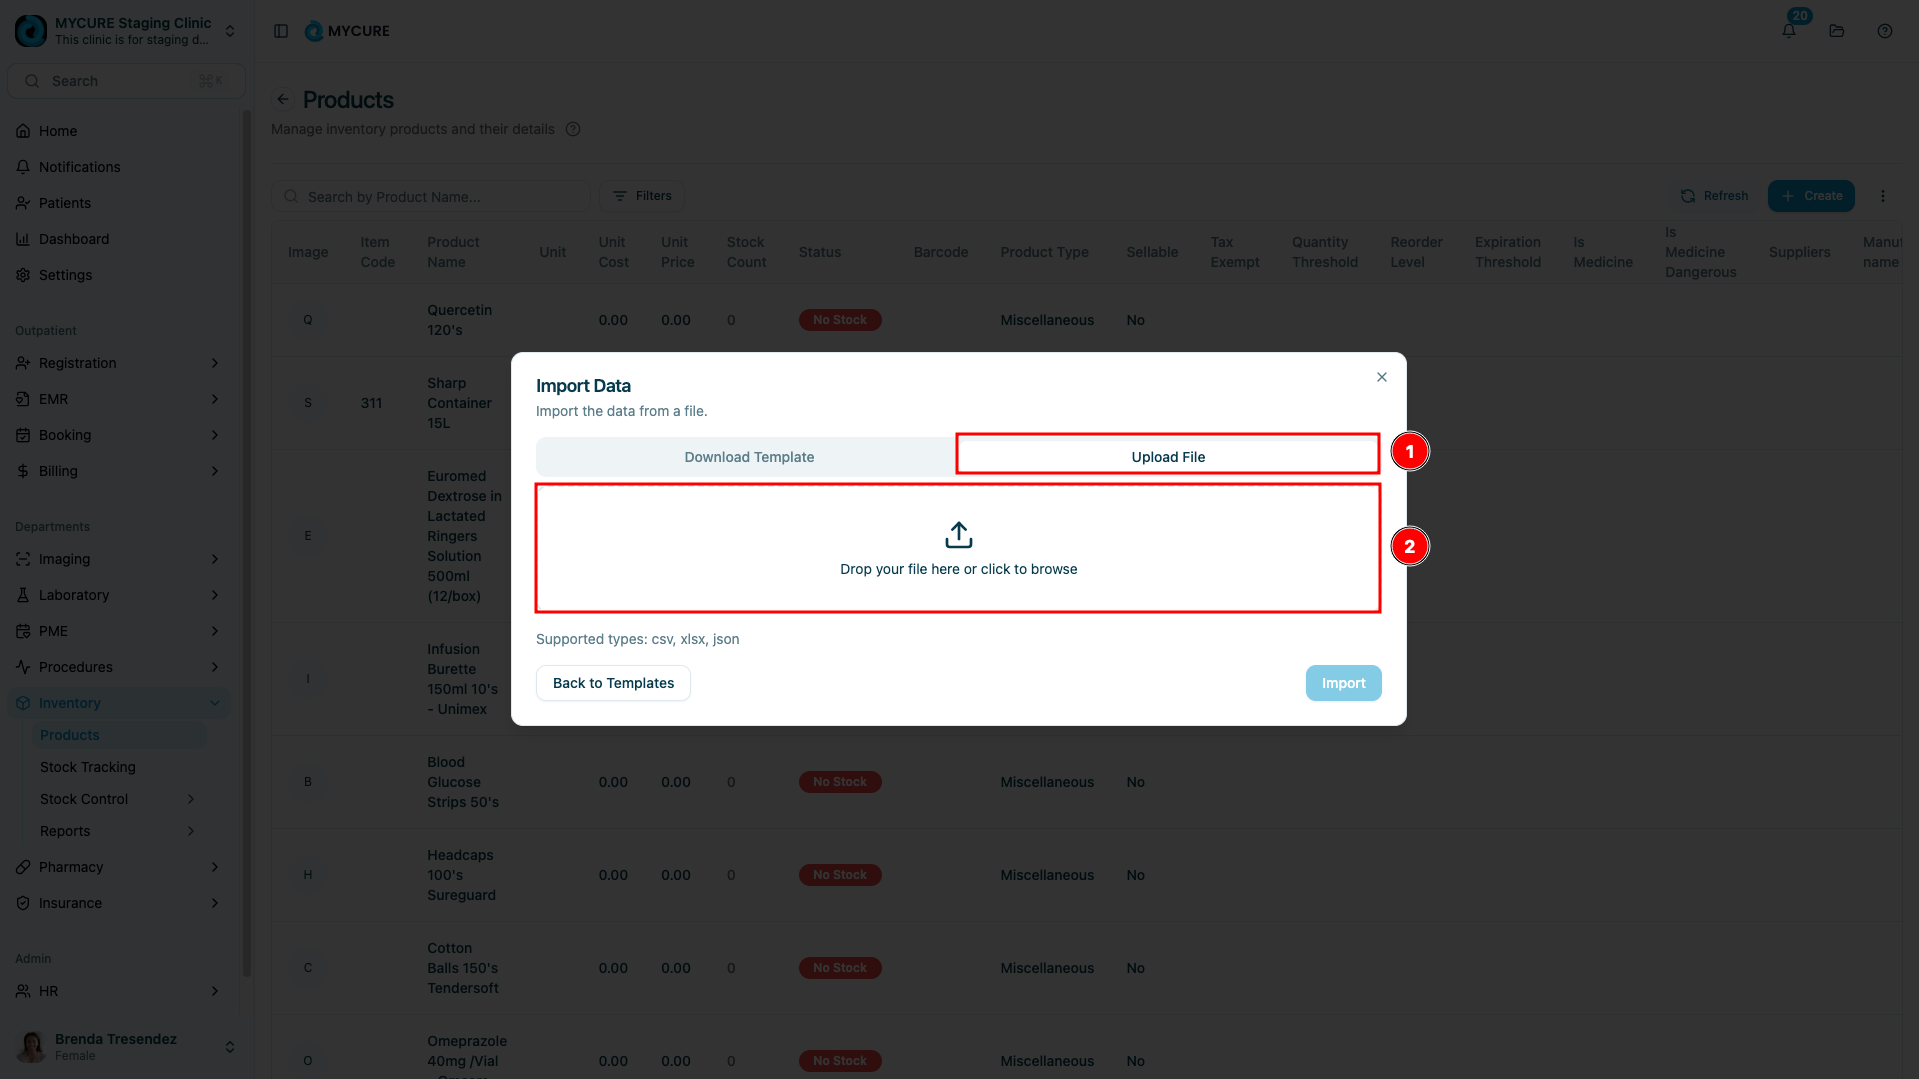
5. Upload Your Completed File
Return to the import interface in MYCURE and switch to the Upload File tab. You can upload your prepared file in two ways:
Drag and drop the file directly onto the designated upload area
Click on the upload area and use the file browser to locate and select your file
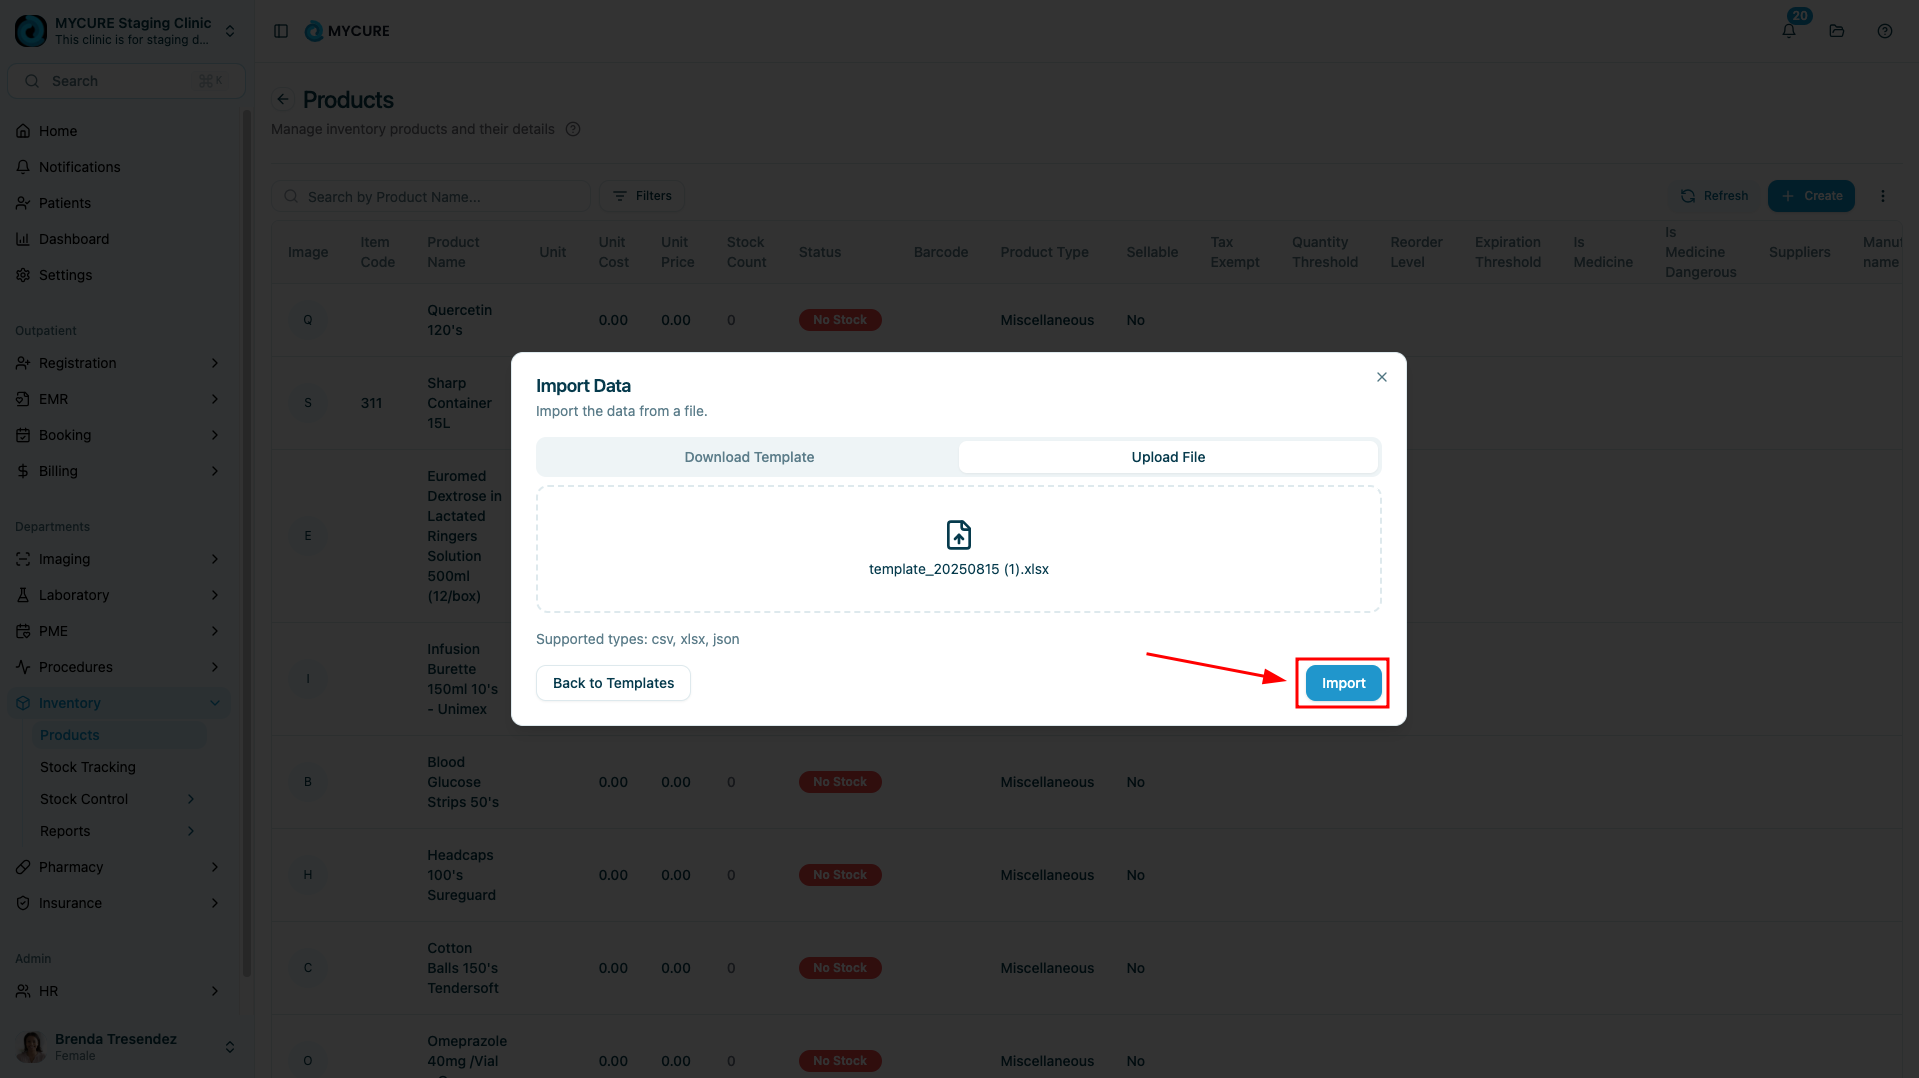
6. Complete the Import Process
Once your file has been selected, click the Import button to begin the import process. The system will process your file and add the products to your inventory. Wait for the confirmation message before navigating away from the page.

Tips and Common Issues
Tip:
Before uploading, double-check that all required fields in your template are filled out correctly to avoid import errors.
Note:
Large imports may take several minutes to process. Do not refresh the page or navigate away until the process is complete.
Warning:
Uploading files in incorrect formats or with missing required data will cause the import to fail. Always use the provided templates as your starting point.
Troubleshooting
Import button is disabled - Ensure you've selected a valid file in a supported format
File upload errors - Verify your file follows the exact format of the template without modifications to the column structure
Duplicate product errors - Check for products with identical SKUs or product codes in your import file
Missing data errors - Make sure all required fields (typically marked with asterisks in the template) are completed