
How To Access And Use The Sales Invoice Summary
5 min read
The Sales Invoice Summary in MYCURE provides a powerful way to view, filter, and export your sales data for reporting and analysis. This tutorial will guide you through accessing the report, applying filters to find specific information, and exporting data for further processing.
What You'll Learn
How to navigate to the Sales Invoice Summary report
How to apply and manage filters to find specific sales data
How to export your sales data in various formats
Before You Begin
You'll need a MYCURE account with appropriate permissions to access billing reports
Make sure you're using MYCURE v10
You should have basic familiarity with the MYCURE navigation menu
Steps
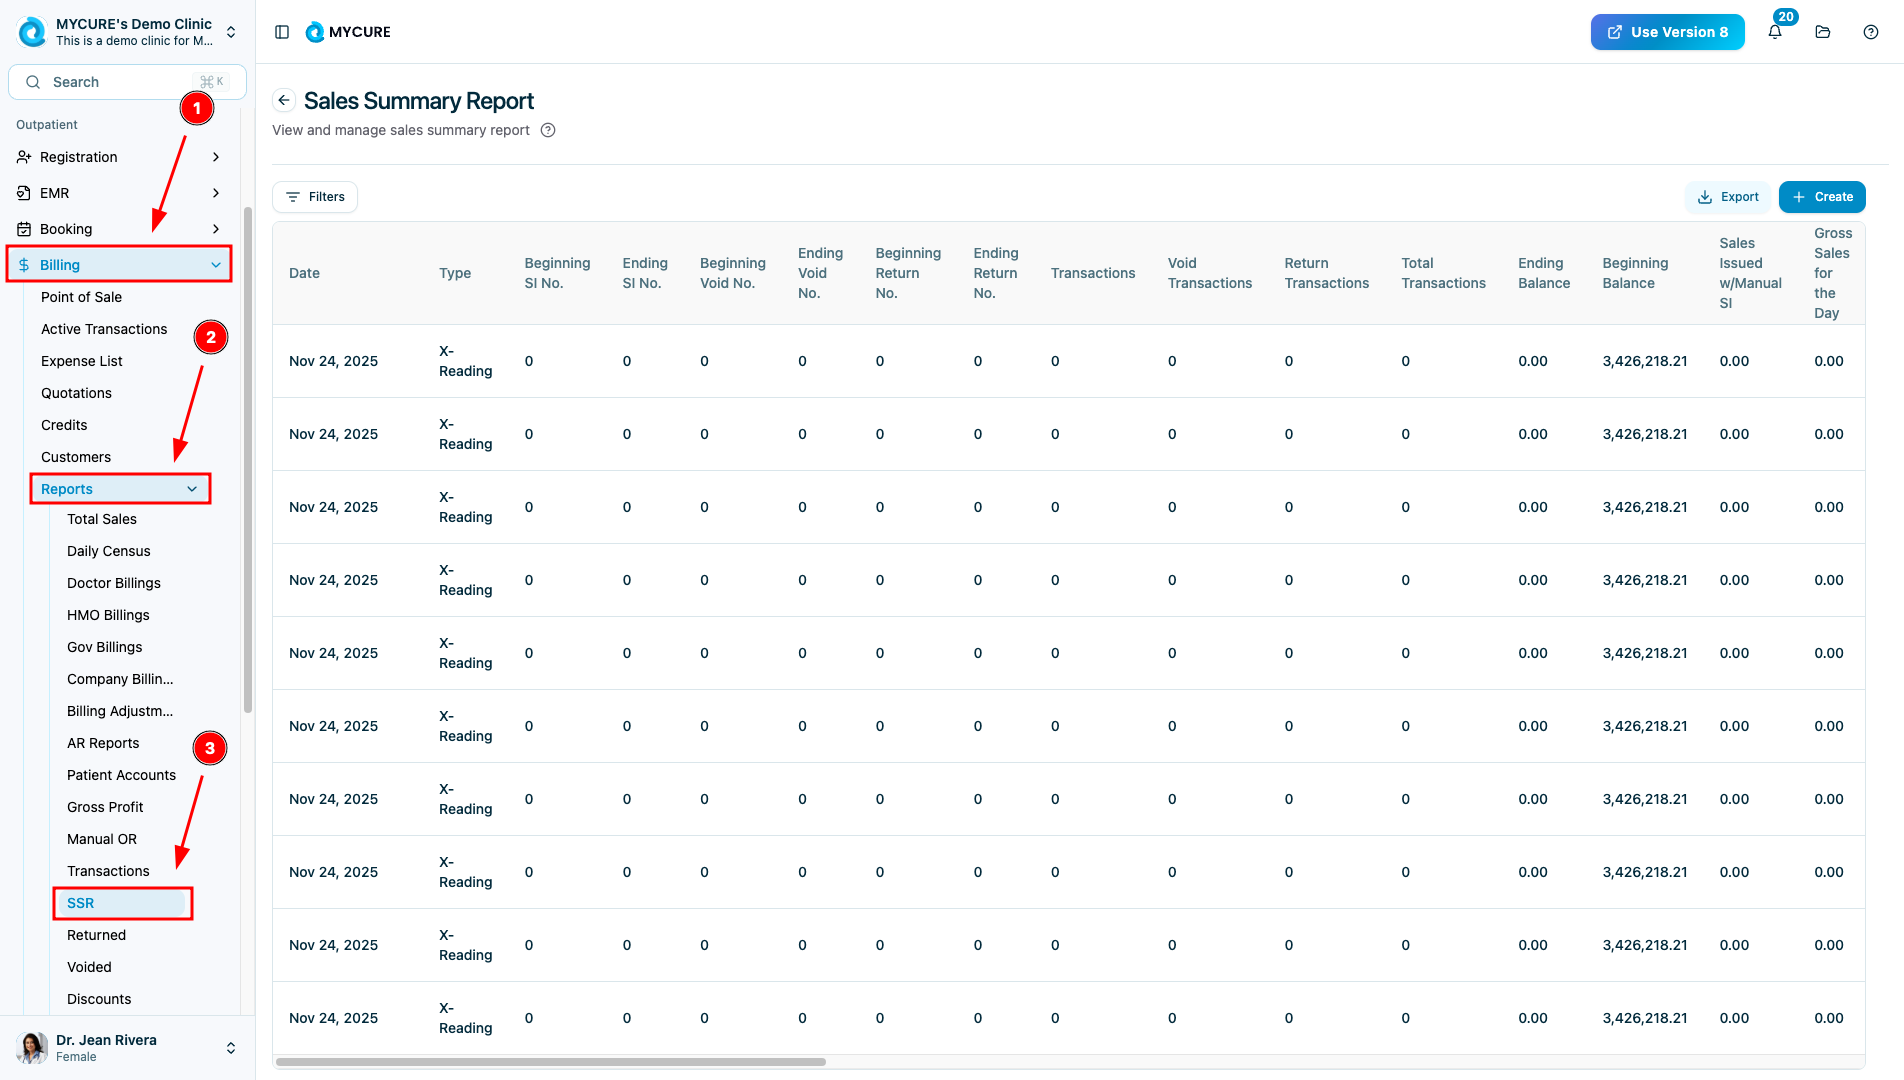
1. Accessing the Sales Invoice Summary
Navigate to the Sales Invoice Summary by following these steps:
Log in to your MYCURE account
Click on the "Billing" option in the main navigation bar
Select "Reports" from the dropdown menu
Click on "SI Summary" from the submenu
You'll now see the Sales Invoice Summary page with all your sales invoice data displayed.
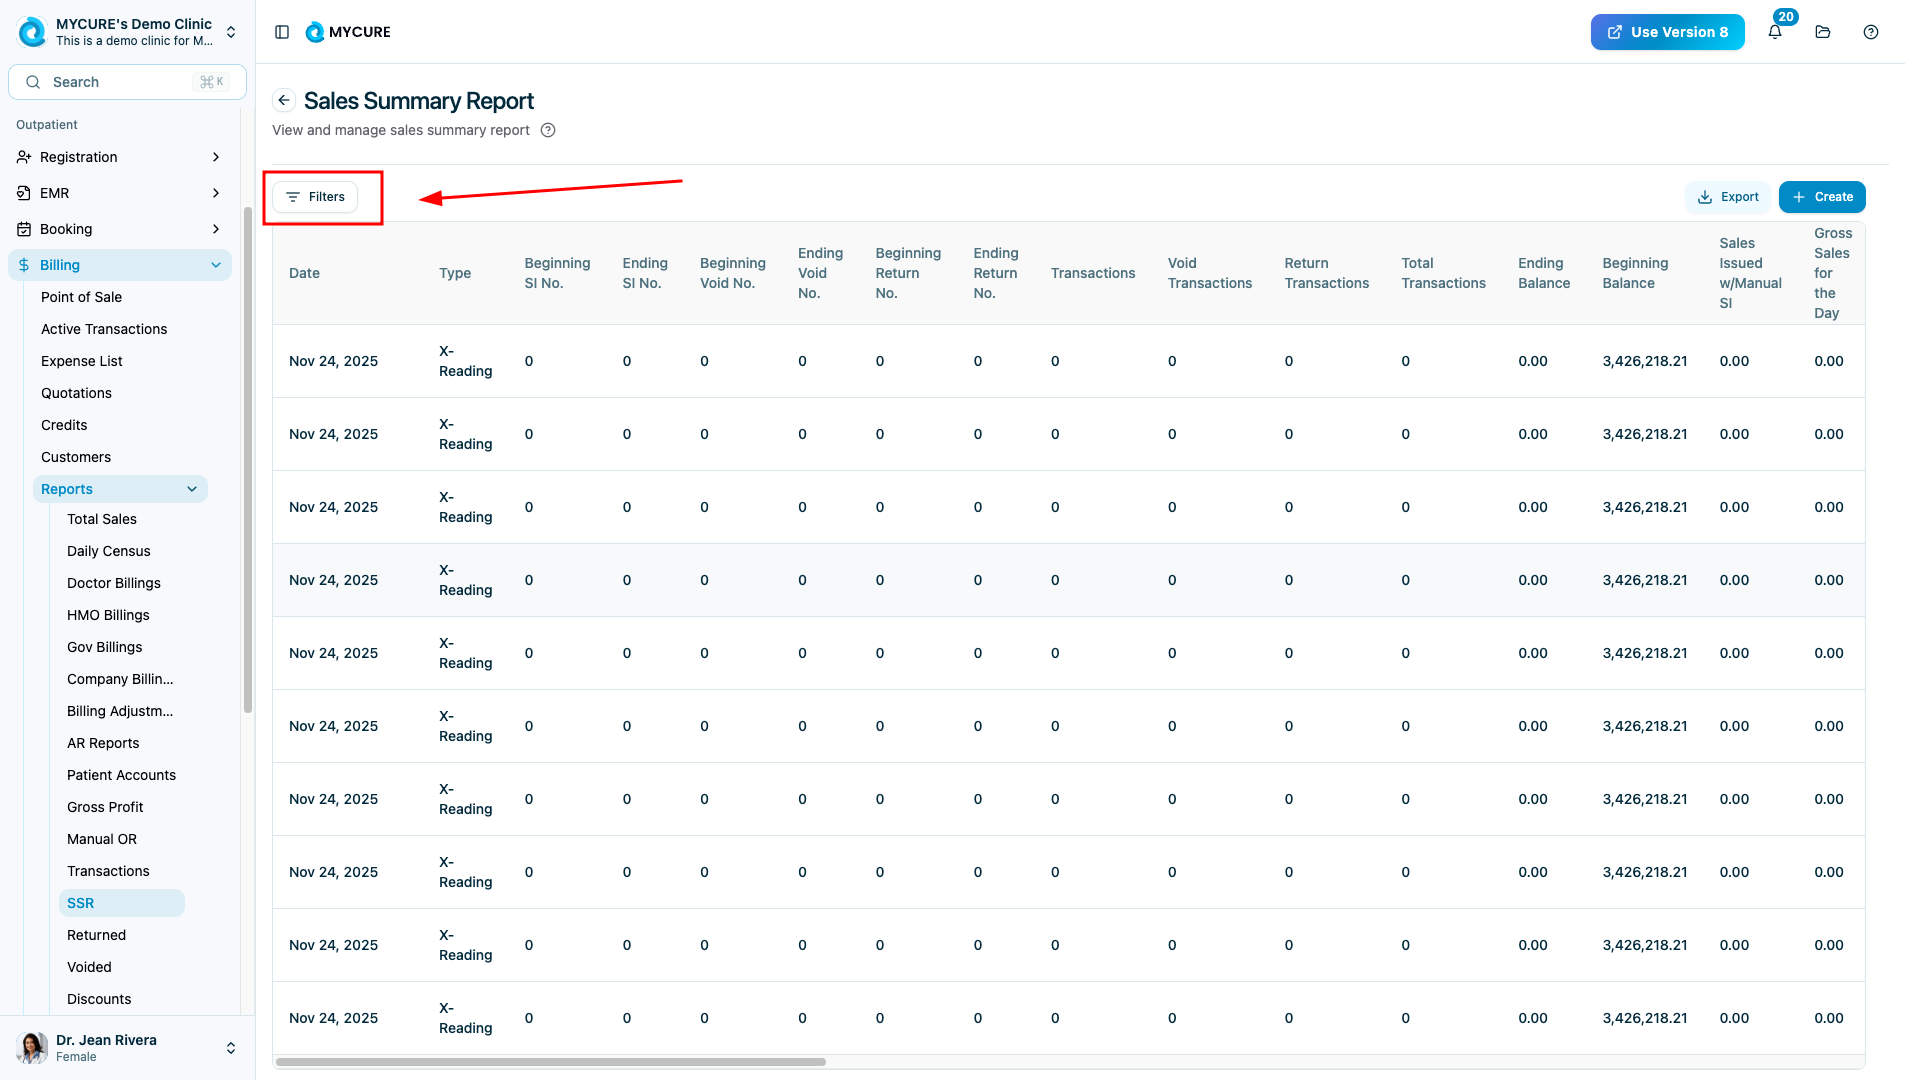
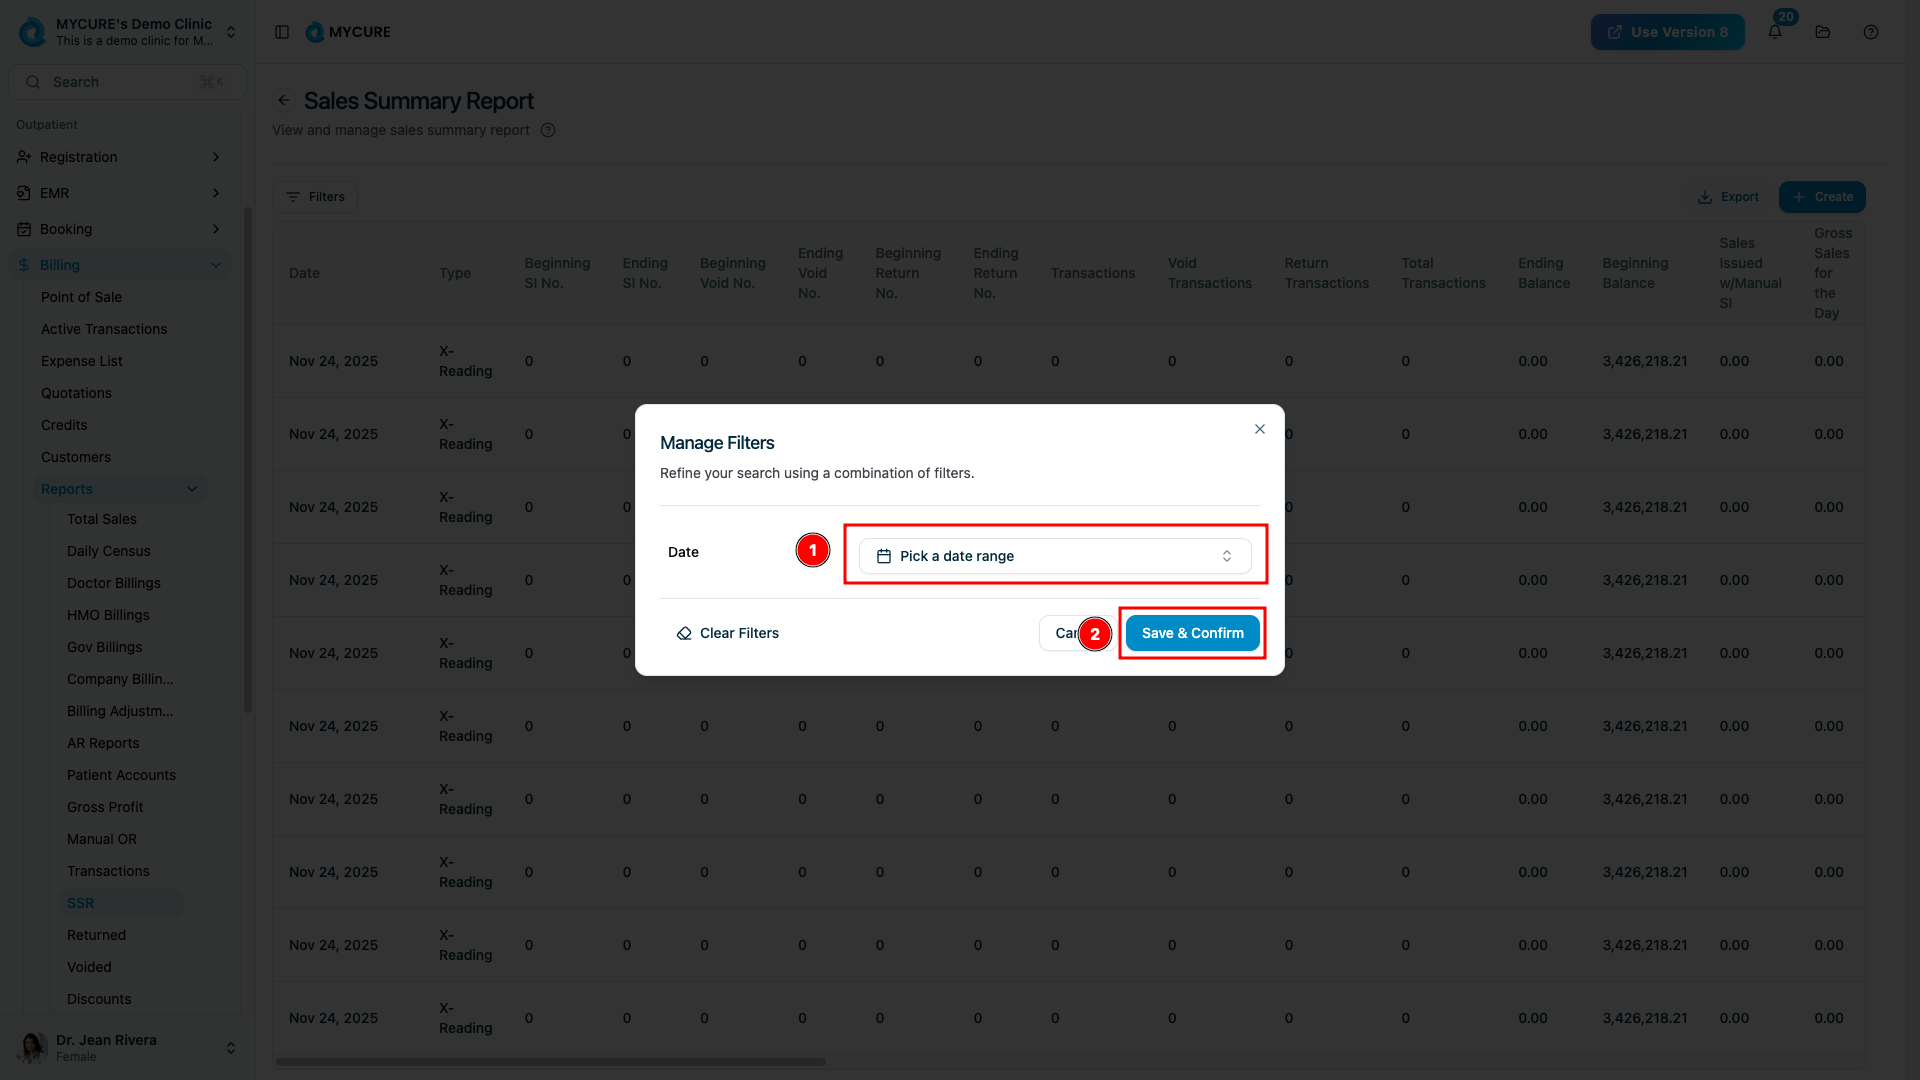
2. Filtering Your Sales Data
To narrow down the sales data to specific criteria:
Click the "Filter" button at the top of the page
In the filter panel that opens, you can set various criteria:
Select an Organization from the dropdown
Choose a date range for "Created At" using the date picker
Choose a date range for "Finalized At" using the date picker
Select a specific Status (e.g., pending, finalized, voided)
Select a specific Cashier staff member
Search for and select a specific customer
After selecting your desired filters, click "Save & confirm" to apply them
Your Sales Invoice Summary will update to show only the invoices that match your filter criteria.
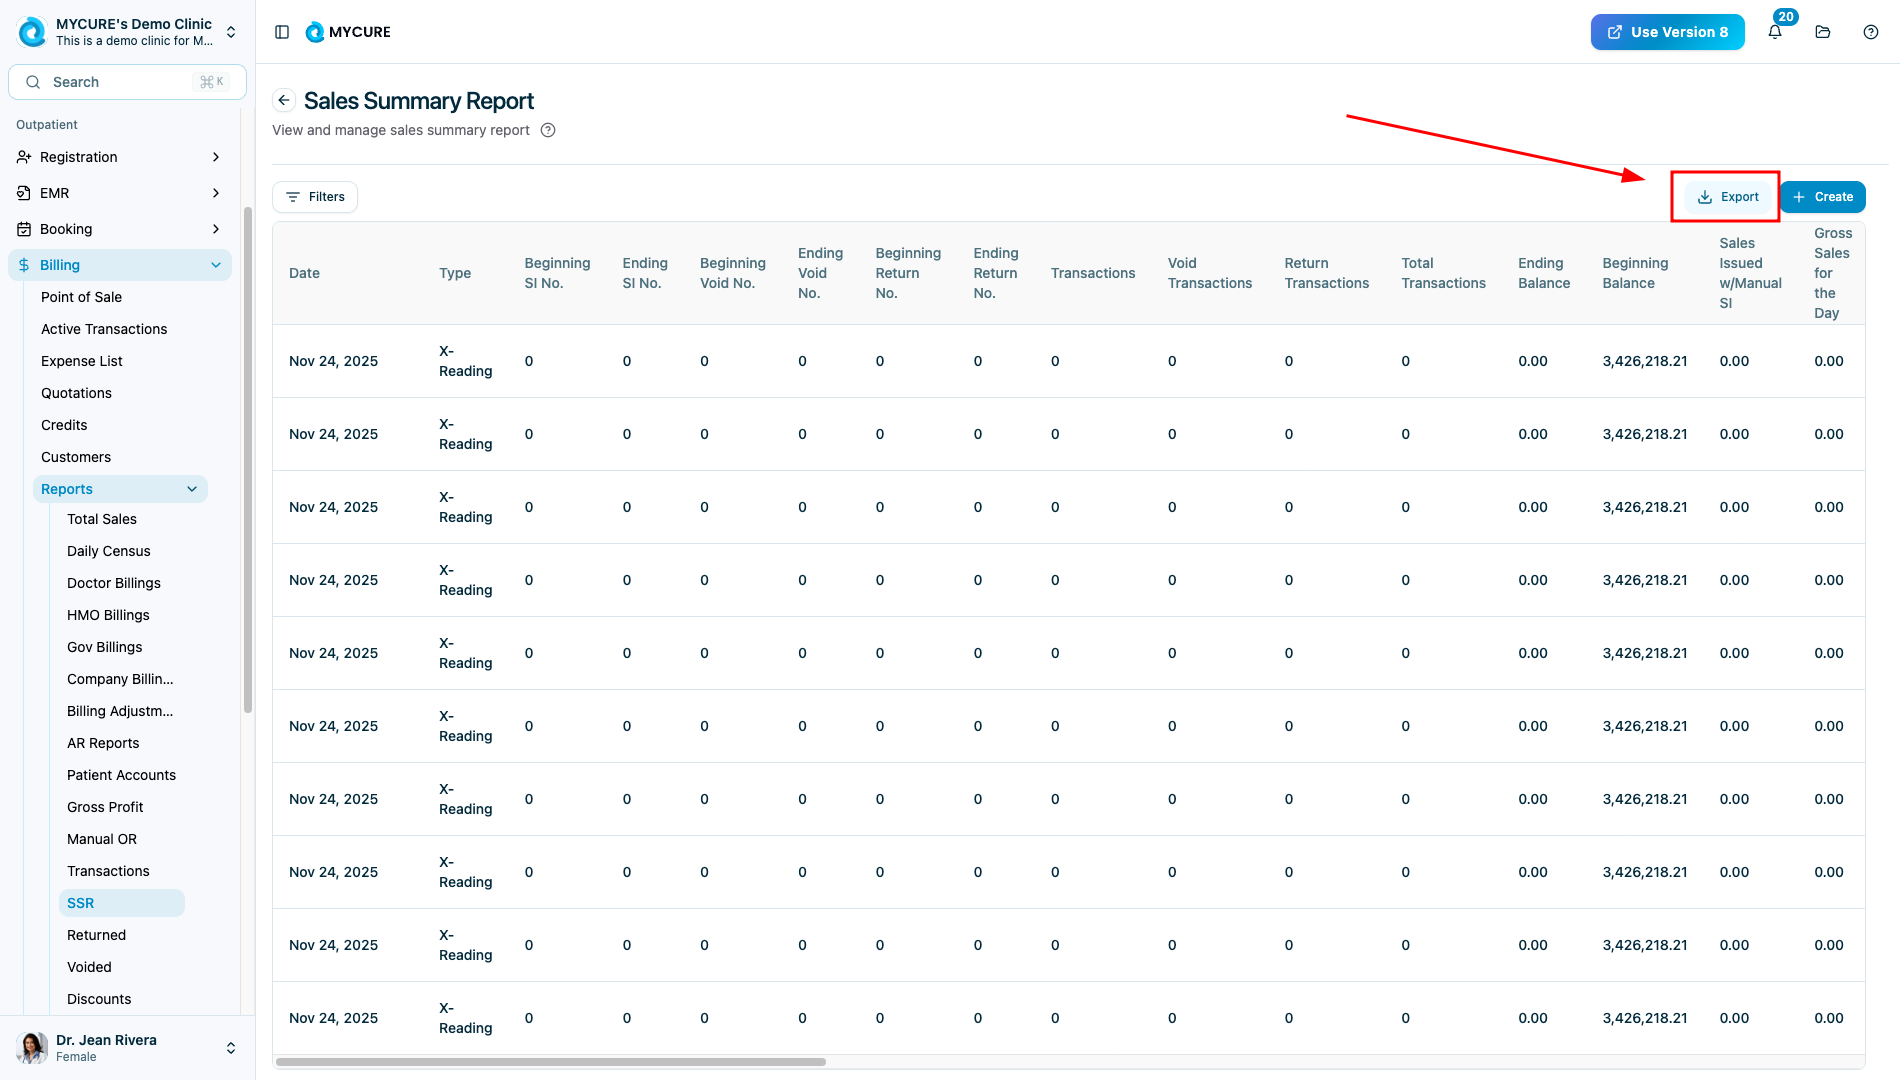
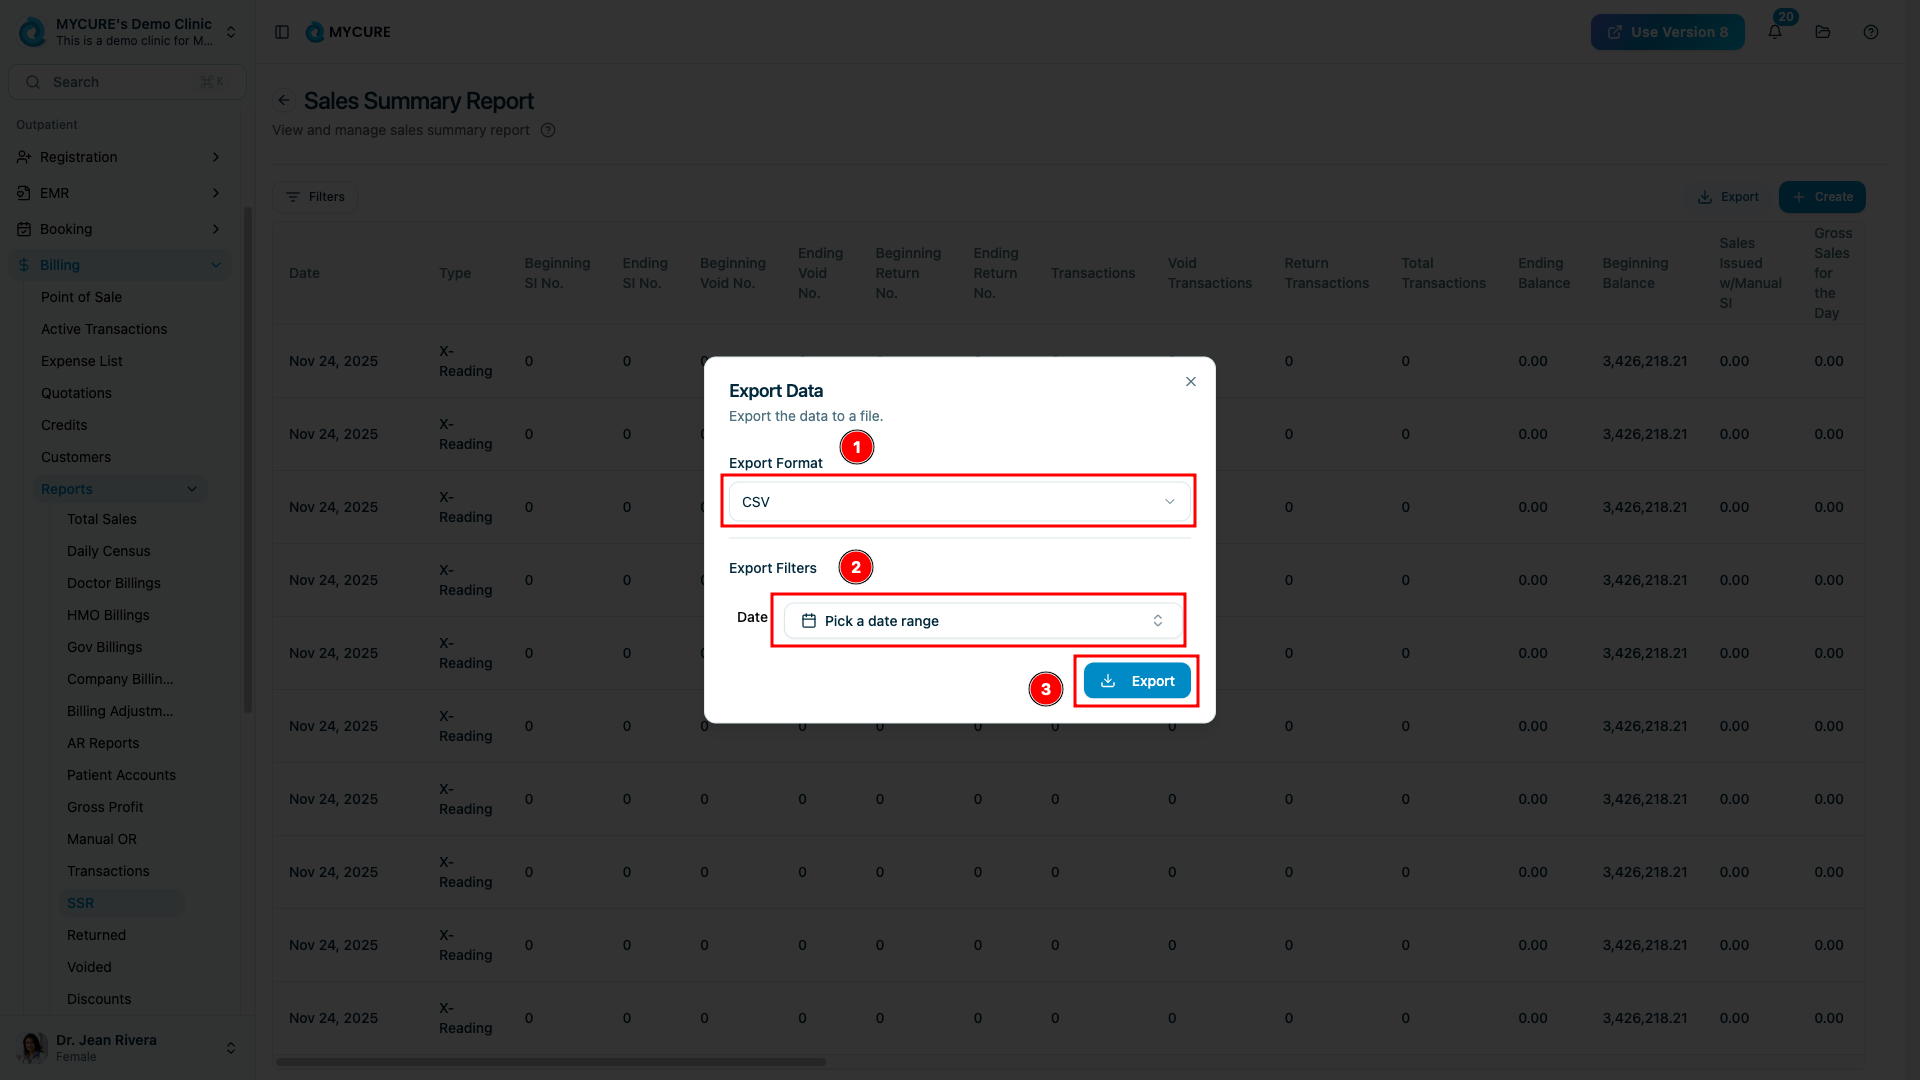
3. Exporting Sales Data
To export your sales data for reporting or analysis:
Click the "Export" button at the top of the page
In the export panel that opens:
Select your desired Export Format (e.g., CSV, PDF, Excel)
Set filter criteria for the export (Organization, date ranges, Status, Cashier, Customer)
These filters will apply only to the exported data
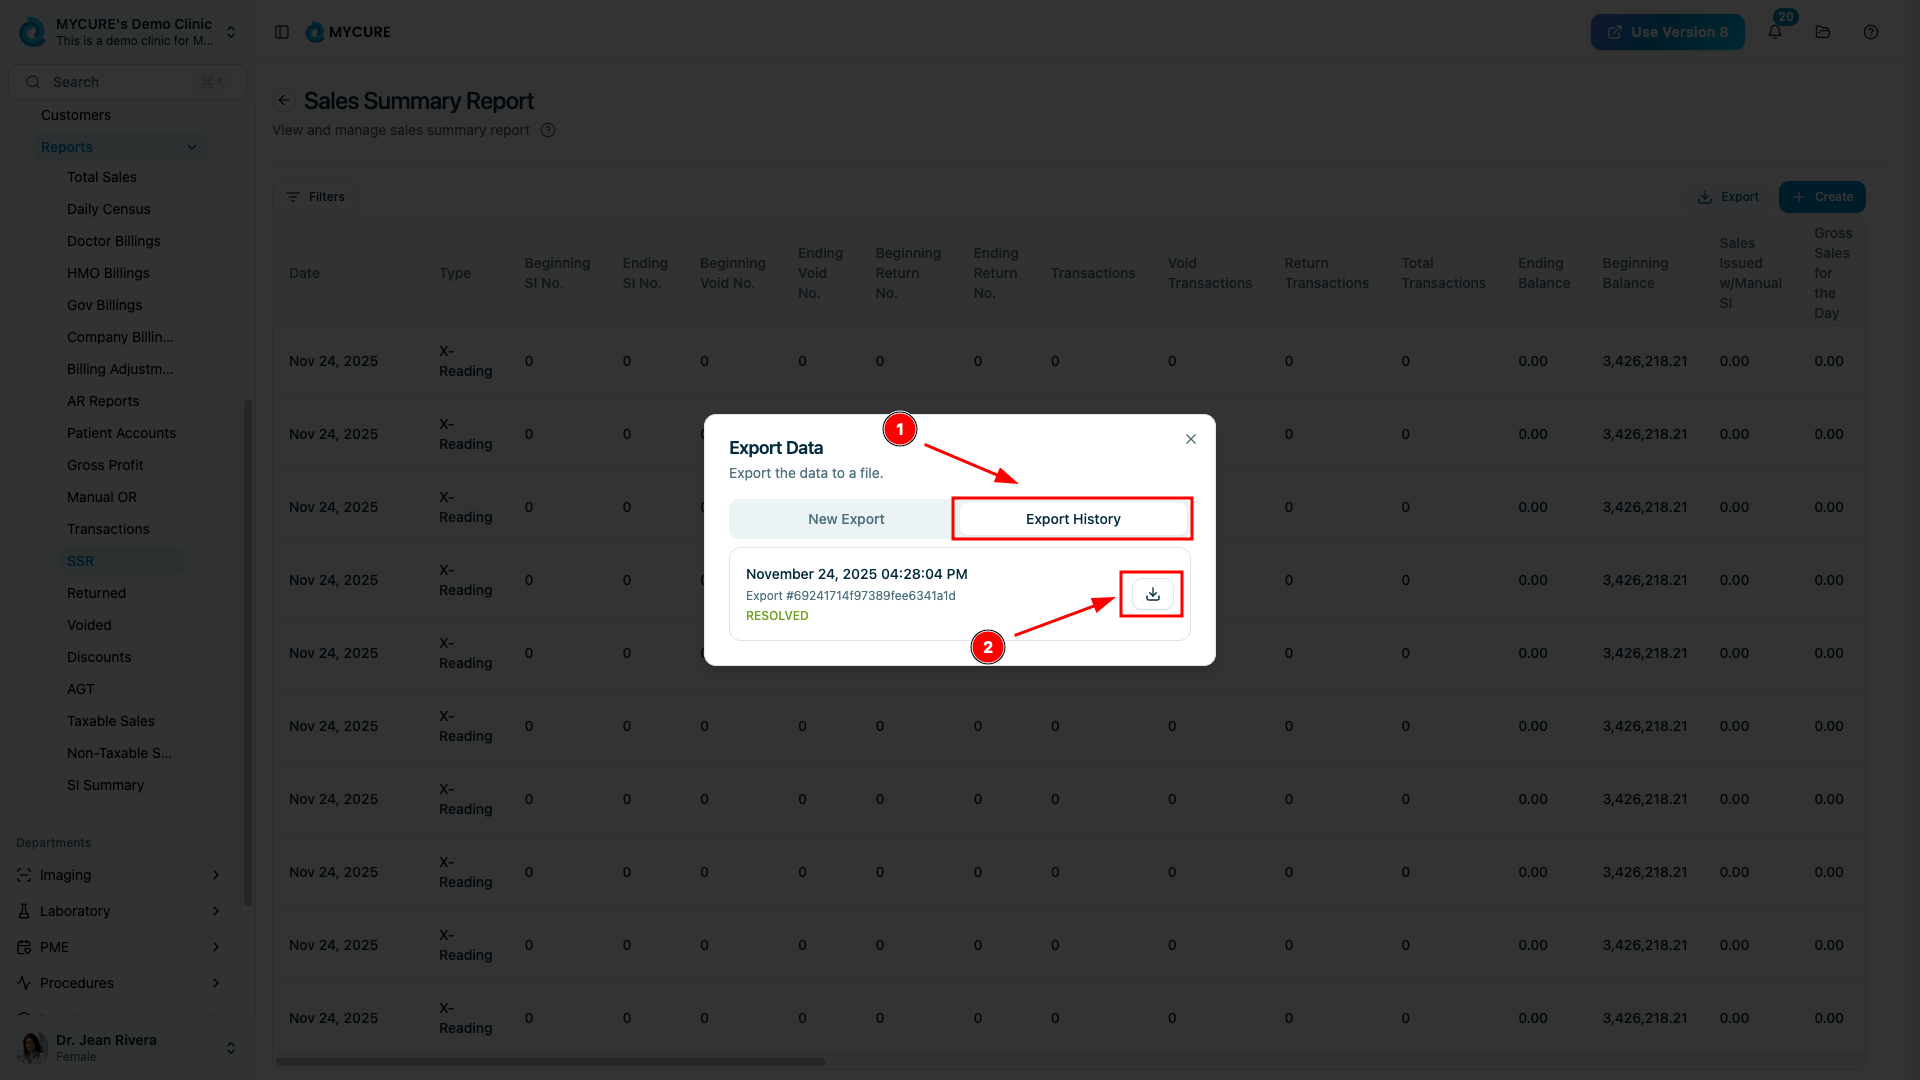
Click the "Export" button in the panel to generate and download your file
The export will begin processing, and your file will download automatically once complete.
Tips and Common Issues
Tip:
You can export filtered data by first applying filters to the view, then clicking Export. The export will maintain those same filters by default.
Note:
Exports may take longer if you're processing a large date range or have many sales invoices.
Warning:
Make sure to verify that your export contains the expected data before sharing it with others. Double-check your filter settings if the export seems to be missing information.
Troubleshooting
Export seems to be taking too long - Try narrowing your date range or adding more specific filters to reduce the data volume
Filter not showing expected results - Ensure you've clicked "Save & confirm" after setting the filters, and check that you haven't set conflicting criteria
Unable to find a specific customer - Try entering only part of the customer name to broaden the search, or check if the customer is associated with a different organization
For additional support, contact the MYCURE support team at support@mycure.md.